Printing at 0% infill density can be an excellent option to have. As fast as 3D printing currently is, using this setting can drastically reduce your print times. However, there is more to 0% infill than just time savings.
Printing at 0% infill can introduce some unique characteristics. These include different visual, strength, and tactile characteristics. In this article we take a look at what 0% infill means in 3D printing, how this affects print characteristics, how it compares to other infill densities regarding material use, and more. Read on as we reveal a more interesting side to printing without infill.
What is 0% Infill?
In a part that is designed to be solid, a 0% infill setting means that any space that is left after the printing of the inner and outer shells/walls/perimeters will be left hollow. In other words, no infill will be deposited in the space(s) where infill is deposited at any other setting.
This is illustrated in the image below where the infill structures seen at 20% infill density are completely absent at 0% infill.
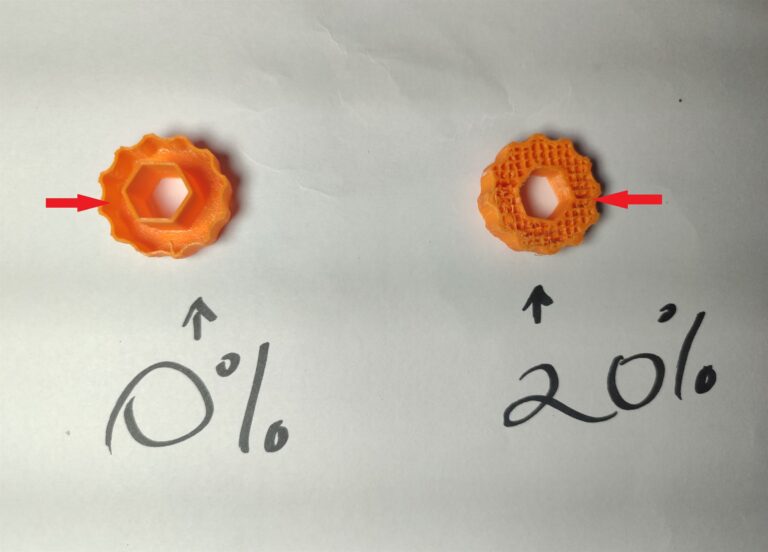
Due to the naming conventions used by PrusaSlicer, it is necessary to point out that in this context, the infill in question is what it calls ‘internal infill’. In PrusaSlicer’s naming conventions, there are three other types of infill, i.e. solid, top solid, and bridge. These three are usually present even at 0% infill.
What Does 0% Infill Look Like?
Internally the 0% infill setting only changes the look of the printed part in sections that would have had infill. As shown in the image below, this leaves completely hollow spaces in sections that would be completely solid at 100% infill density.
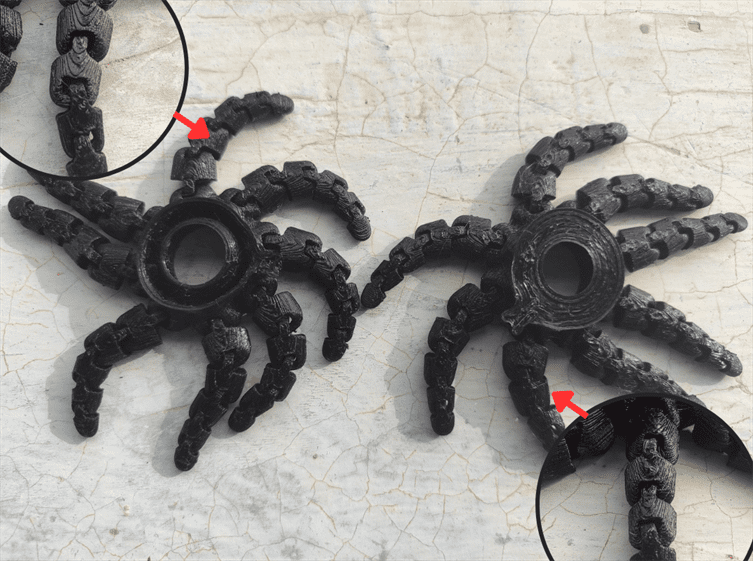
The effect of having no infill on the external look of a part can be more ambiguous. Infill doesn’t just make a part more solid or give it more strength, it can also serve as a support structure that enables the part to conform to the design shape and dimensions. Without infill, some walls may sag or collapse during printing due to inadequate support.
A part that is affected in this way may not have the same look or dimensions as the designs. Such parts may not even successfully print.
On the other hand, 0% infill may not result in any noticeable change in the external look of the printed part as is the case with the tentacles of the octopuses in the image.
Are Parts With 0% Infill Completely Hollow?
0% infill does not mean that you will get a part that is completely hollow. Apart from the infill density, several other factors also affect how solid a printed part will be including:
- Thickness of the part
- Minimum number of vertical and horizontal shells
- Minimum shell thicknesses
A part that is relatively thin is unlikely to have space left over after the minimum number of shells have been printed. These parts will have no infill in them whether the infill percentage is set at 0 or 100. Thicker solid sections will have a lot more space left inside after the perimeters are printed.
If you set a high minimum number of shells, there may be no space left for infill. A low minimum number of shells will leave more room for infill.
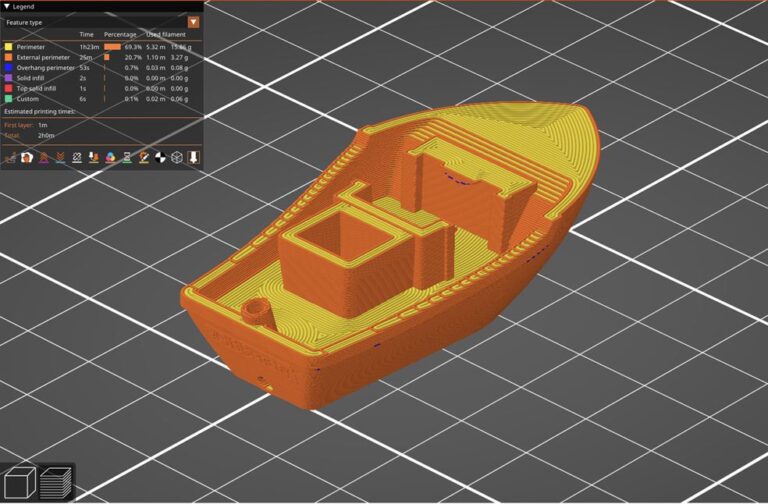
With a high minimum shell thickness, an entire solid wall might be printed using a single shell, dispensing the need for infill. Larger nozzle sizes can get you larger shell thicknesses.
All this means that depending on the part design and slicing parameters, a part with 0% infill may still end up being or feeling quite solid.
Advantages of 0% Infill
Printing at 0% infill can have the following benefits:
- Use of significantly less material
- Prints may take significantly less time to complete
- Lighter printed parts
Disadvantages of 0% Infill
The drawbacks of 3D printing using 0% infill include:
- Parts may be significantly weaker against certain forces e.g. torsion and compressive forces
- Possible high rate of print failure
- Prints may be deformed or have inaccurate dimensions
Can You Print at 0% Infill?
Not only is it possible to print without infill, in some cases, it would be highly recommended. Some printed items don’t need the benefits that come with using infill.
There is often little benefit to using infill when printing parts that are mainly cosmetic and unlikely to suffer any degree of stress. Additionally, it is often recommended that you consider focusing more on perimeters rather than infill if you want stronger parts.
However, when printing certain structures or using certain materials, the internal structure provided by infill helps to hold up the walls during printing. Printing without infill can also be harder when using certain materials.
What Patterns Allow 0% Infill?
Printing using 0% infill is independent of the infill pattern chosen in the slicing software. This means that you can print at 0% infill regardless of the infill pattern chosen. This is because you won’t be adding any infill to the part in the first place.
This differs from when using 100% infill where the choice of infill pattern is important. Although the infill pattern may not be discernible in the final print, the pattern will dictate how the material is deposited. Not every infill pattern allows 100% infill.
How Should You Use 0% Infill?
Not every situation will benefit from using no infill. In some cases, it may just lead to failed prints and wasted material. 0% infill should be used in cases where the benefits are obvious.
For example, printing the Darth Vader bust below using just 10% infill density more than doubles the total amount of material needed. Since this is a cosmetic item, this is a good example of part that you may want to print at 0% infill.
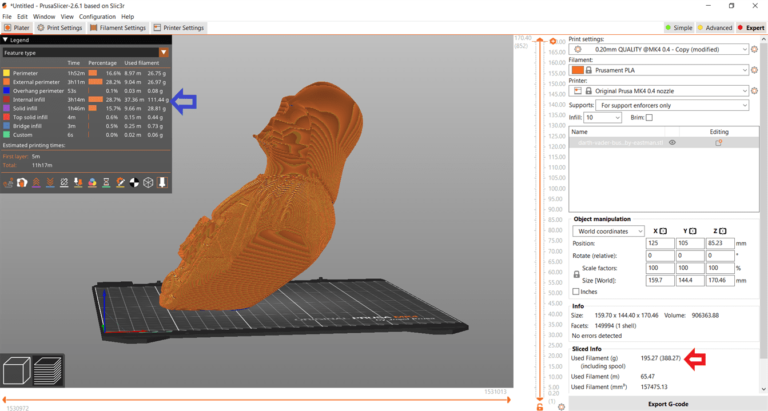
The size of the bust, and the angling of some walls can make it difficult to print this without any infill. You can counter these risks by adding the minimum number of walls to give the part more structure.
Using a printer with good bridging capability can also help when you don’t have infill. This will reduce the sagging when spanning larger distances between walls.
Is 0% Infill Density Too Low?
The 0% infill option is a good one to have. Where you can successfully print parts using this setting, it can greatly reduce the amount of material used in a print. Although 0% infill is often too low even when printing cosmetic parts, there are plenty of scenarios when it is just enough.
The amount of time you can save when printing without infill can also be significant. However, without any infill to help hold up the walls, you may encounter a higher risk of deformed parts or print failures.
Should you wish to try printing using 0% infill, there is a smart way of doing it. With the right design, enough shells and a printer with good bridging capability, using 0% infill can be easy to achieve.

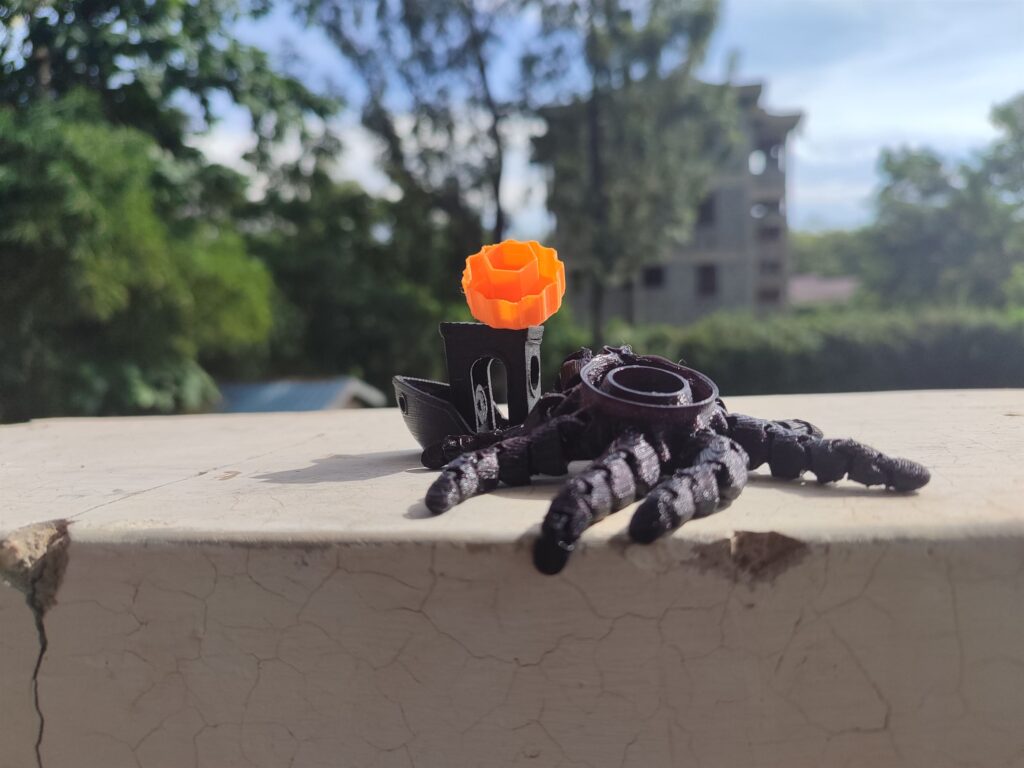
Hi,
I tried this Model: https://www.thingiverse.com/thing:4116151 at 0% infill since the sliced model in Cura didn‘t show any infill in the visualization. But the result was totally weak and just not finished. What is the reason?
thanks
Dominik
Hi Dominik,
Did you scale it up as recommended by the designer? It’s supposed to be 10X the size of the STL