I was offered a chance to unbox and assemble a Prusa MK4 3D printer kit this past weekend, and I could not say no to that.
I have worked with the Prusa MK3S+ in the past, and I was impressed by how well-rounded the user experience was. I didn’t assemble any of the MK3S+ printers I had worked with and I wanted to find out how the experience of assembling a Prusa 3D printer kit compared to assembling other 3D printer kits.
Before this MK4, I had previously assembled one other 3D printer kit, the Geeetech Aluminium, back in 2018. I also had experience performing maintenance on the MK3S+. With these experiences, I was confident I could handle the MK4.
Note that this is not a step-by-step guide on how to assemble the Prusa MK4. The included assembly instructions already do this quite well. This is a summary of my impressions, both good and bad, from the experience of putting together this printer from scratch.
The Positives of Assembling the Prusa MK4 Kit
There was a whole lot to like about unboxing and assembling the Prusa MK4. Here’s the stuff that stood out the most.
The Prusa MK4 is Light and Well Packaged
I could tell I was in for a special experience right from the start. The box the printer came in was light and easy to carry. I didn’t weigh it, but Prusa’s website puts the total weight of the package at 7 kg or 15.43 lbs.
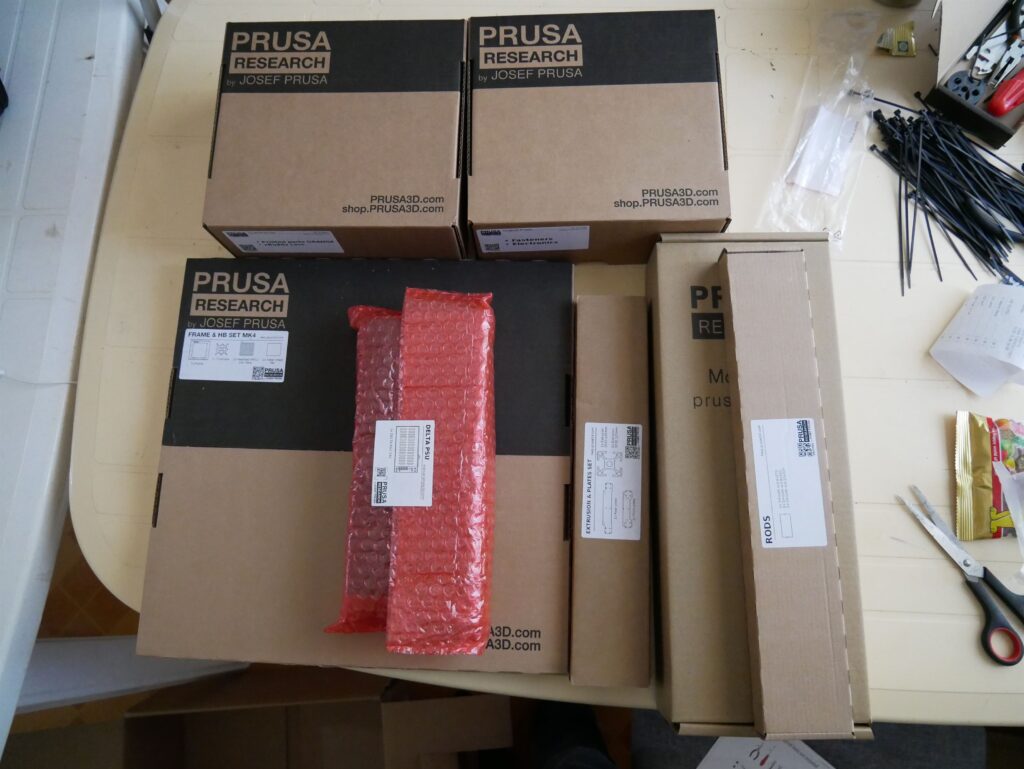
This will be a big deal for those who’ll be shipping this printer to the furthest regions of the world where every kilo is expensive.
Opening up the box revealed well-packaged and labeled components. Special or larger components were in separate boxes and anything delicate was carefully wrapped in bubble wrap or held inside a foam casing. The chances of damage during shipping seemed slim.
Tools for Everything
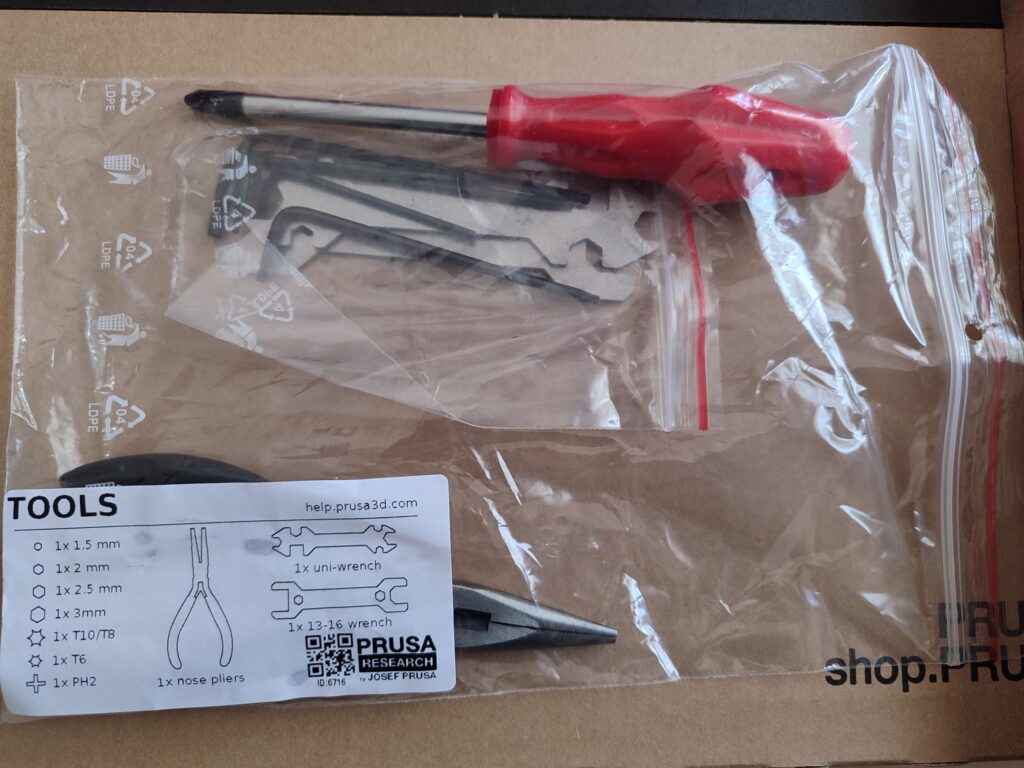
One of the first annoyances of putting together my first 3D printer was not finding a spanner that I needed for the assembly. There was none of that with the MK4.
I never once had to stop working because I had to go looking for a spanner or an Allen key. The only thing you’ll need but won’t find in the box is a permanent marker. This is stated in a preliminary step. (a note on this later)
The Prusa MK4’s Assembly Instruction Booklet is Professional
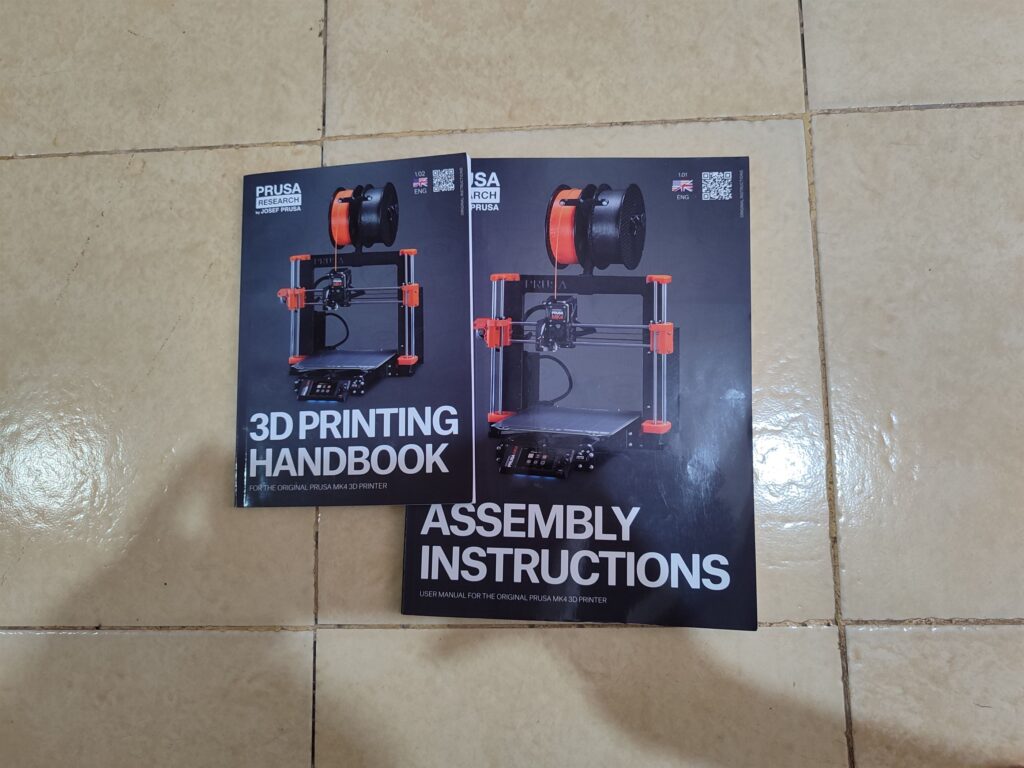
Including printed instructions with a product is clearly a dying art, but it is great to see that it doesn’t die with the MK4.
The included assembly instruction booklet is professionally packaged and doesn’t look like it’s destined for the trash. The same goes for the included 3D printing handbook.
There is something to be said about availing assembly instructions digitally, but once you’re in the fourth or fifth hour of assembly, you’ll be grateful to not be reading from a screen.
The booklet also comes with lots of helpful pictures which you will need at almost every step the first time you do the assembly.
Proper Labels on Everything
There is nothing in the Prusa MK4 kit that isn’t well labeled. Every printed part, every type of screw, and even random components you’ll forget are part of this printer, come in a well-labeled package that sometimes has an illustration to help you distinguish similar components.
The one label I’ll knock them on is that of the M3NS nuts. The ‘S’ in the label kinda looks like a ‘3’ or an ‘8’ and it took me a minute to pick them out.
No Missed Step
Every step you need to take during the assembly process is painstakingly pointed out. There are no omissions for anything no matter how obvious.
This will be helpful for those who are not confident in their technical abilities. The chances you’ll get it wrong after following every step are minimal.
Checkpoints
If you make a mistake during assembly, it is unlikely you’ll get too far ahead before you realize the error. There are helpful checks in the instructions that show and tell what the result after taking specific steps is supposed to look like.
These are especially helpful in ensuring components like the smooth rods are far enough inside their holes.
Color Coding
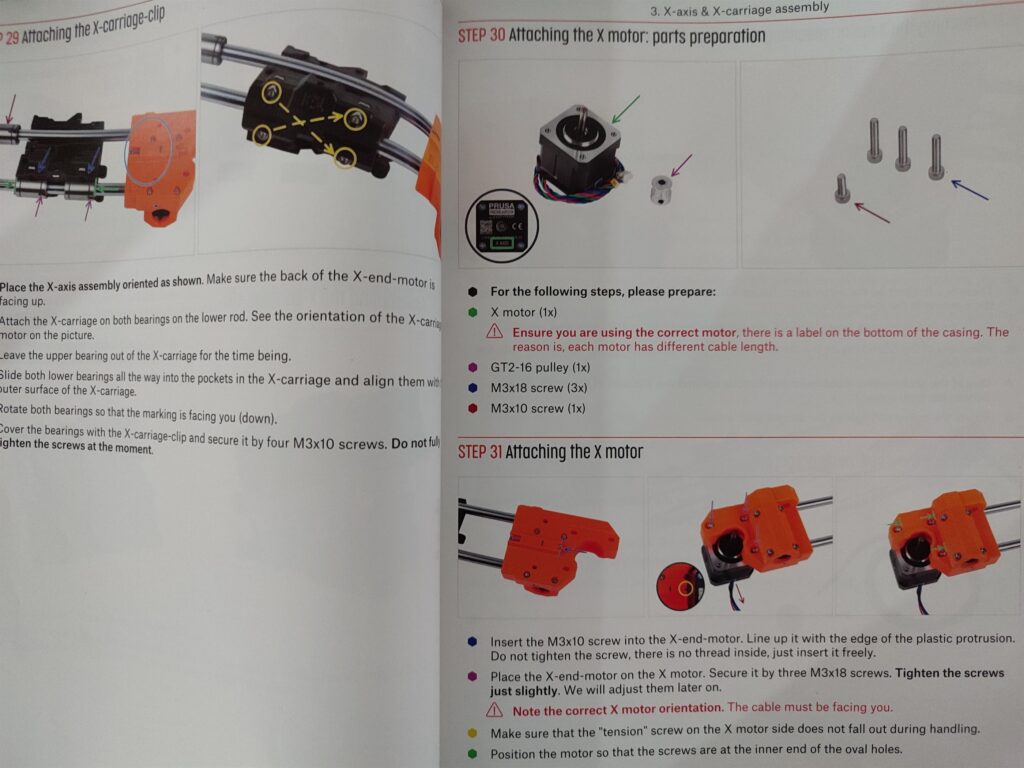
Individual actions in each step are color-coded so it’s easy to move from one action to the next without skipping something.
Prusa Walks the Talk with 3D-Printed Parts
My first 3D printer didn’t have a single printed part. The Prusa MK4 has a lot of 3D printed parts and this can serve as an excellent demonstration for beginners of what can be achieved with 3D printing.
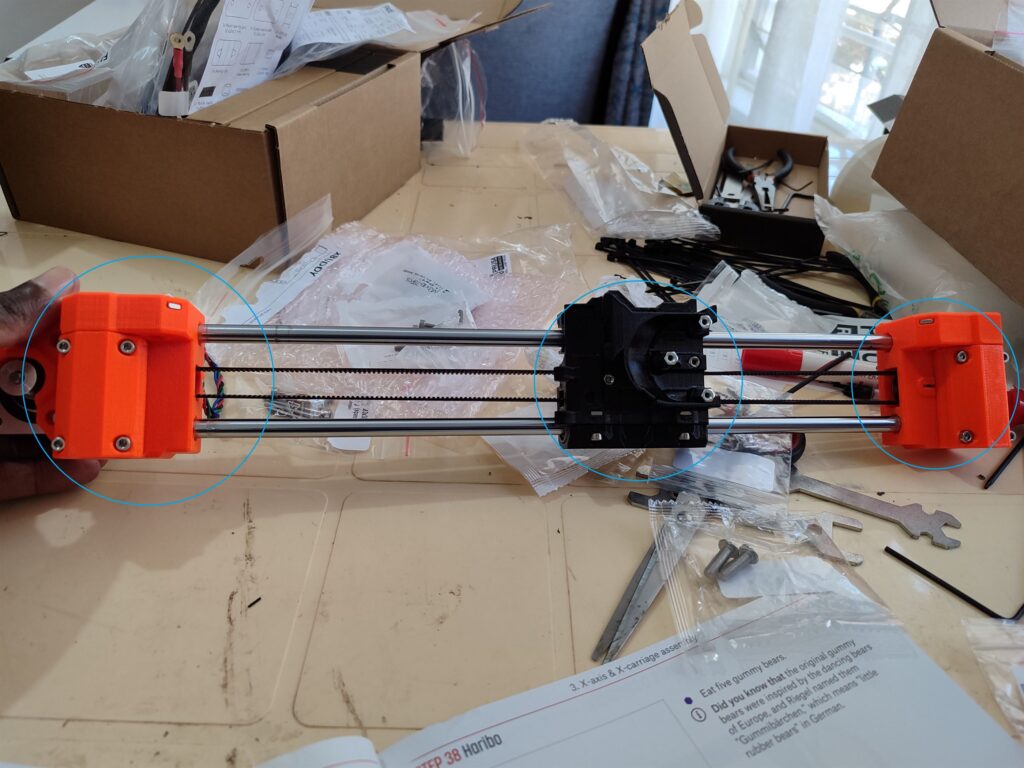
The printed parts on the MK4 (and past Prusa printers) are functional and key to the identity and operation of the printer. With the push to view 3D printing as more than a tool for hobbyists, this demonstration of how these printers produce functional parts is positive.
They Thought Through the Small Details
In the step where zip ties are attached to the xBuddy box, the tool called the X-holder also serves as a means of guiding the zip ties out.
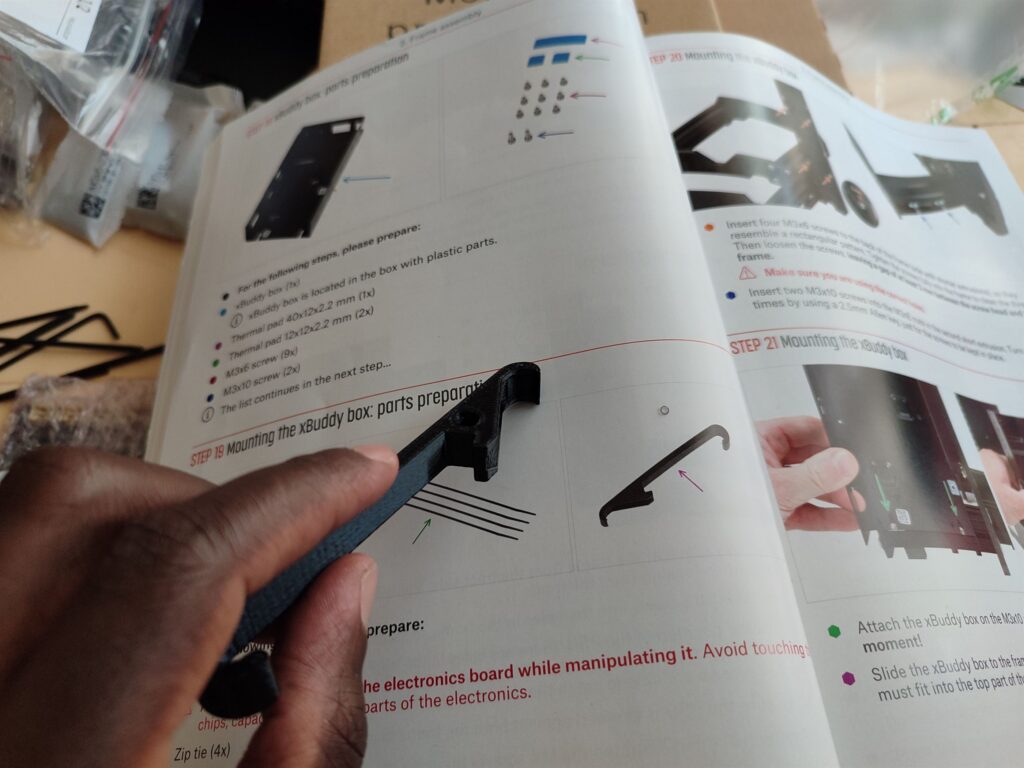
I can easily imagine some other manufacturer telling you to slip the zip ties through the holes and leaving you to figure out how to redirect the zip ties from the other side.
It was this detail that made me realize the guys at Prusa Research took their time to figure out how a beginner might approach the assembly process and identified what they might struggle with.
Did I mention the printed lubricant applicators for bearings or the Nylon filament that helps direct the cables from the extruder assembly?
Spares
Another annoying detail about my first 3D printer kit was that it didn’t have enough of certain fasteners when it arrived. I had to make do with screws that were too long for the job and the result was a bit of a mess.
I had every part I needed to assemble the Prusa MK4 kit and they even packed spares. There were spares for plenty of parts including screws, thermal pads, magnets, etc.
There wasn’t a spare for every single part of the printer, but there was enough there for me to appreciate the effort.
The Prusa MK4’s Parts Come Together Beautifully
The components I assembled came together beautifully at the end of every step. There was nothing that was seated awkwardly or something that didn’t seem like it fit right.
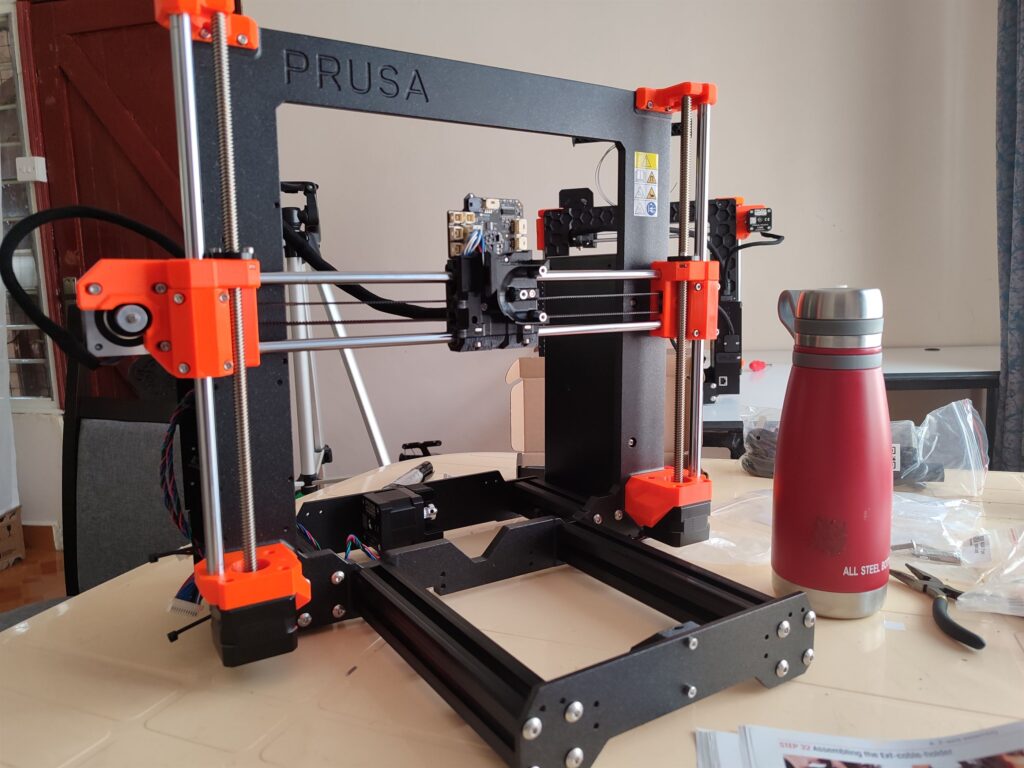
Even the parts that were printed and had some challenging artifacts to bypass eventually fit as expected. Achieving this level of consistency demonstrates just how good Prusa’s manufacturing process is.
You’ll be happy to know that this manufacturing process also uses Prusa printers.
Quality All Through
All the components have a premium look and feel. Even the printed parts don’t feel flimsy nor do they have artifacts that would make you doubt their quality.
Prusa Made the Process an Experience
The first thing I noticed when I opened the box for the 3D printer kit was the package of Haribo Gummy Bears. By the time I noticed they were supposed to be rewards for working through various stages of the assembly process, I was down a few.
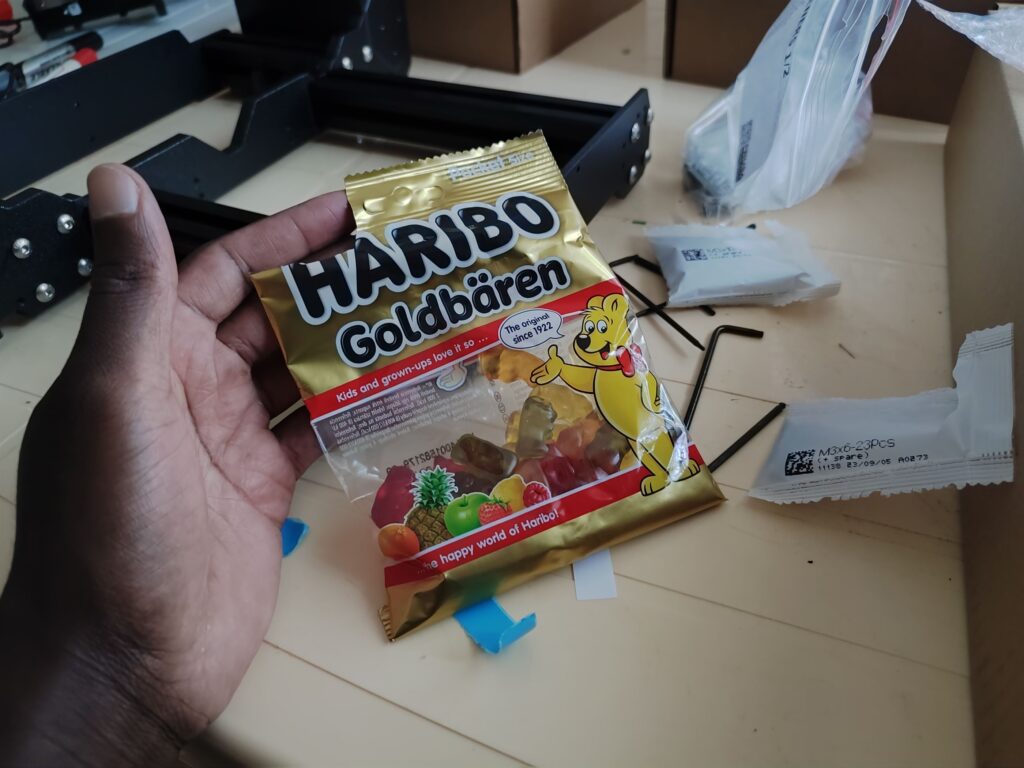
All in all, this was one of several details that made the challenging task of assembling the MK4 a nice experience. The whimsical comments in the assembly instruction booklet were a great touch as well.
It’s a Job That Will Leave You Impressed With Your Own Abilities
Putting together the MK4 was not an easy challenge. It required time, effort, and careful attention to detail. I’m sure most people could do it if they put their minds to it, but most people won’t.
When you’re through assembling your Prusa MK4 3D printer, you can take pride in the fact that you’ve finished a project many people won’t even be willing to start. Then the real fun can begin!
The Negatives of Assembling the Prusa MK4 Kit
Putting together the Prusa MK4 wasn’t all sunshine and rainbows. There were several challenging aspects to the experience that you should be aware of before you start.
Assembling a 3D Printer Kit is a Lot of Work
Make no mistake about this, even with the detailed and easy-to-follow instructions, putting together the Prusa MK4 3D printer was a lot of work.
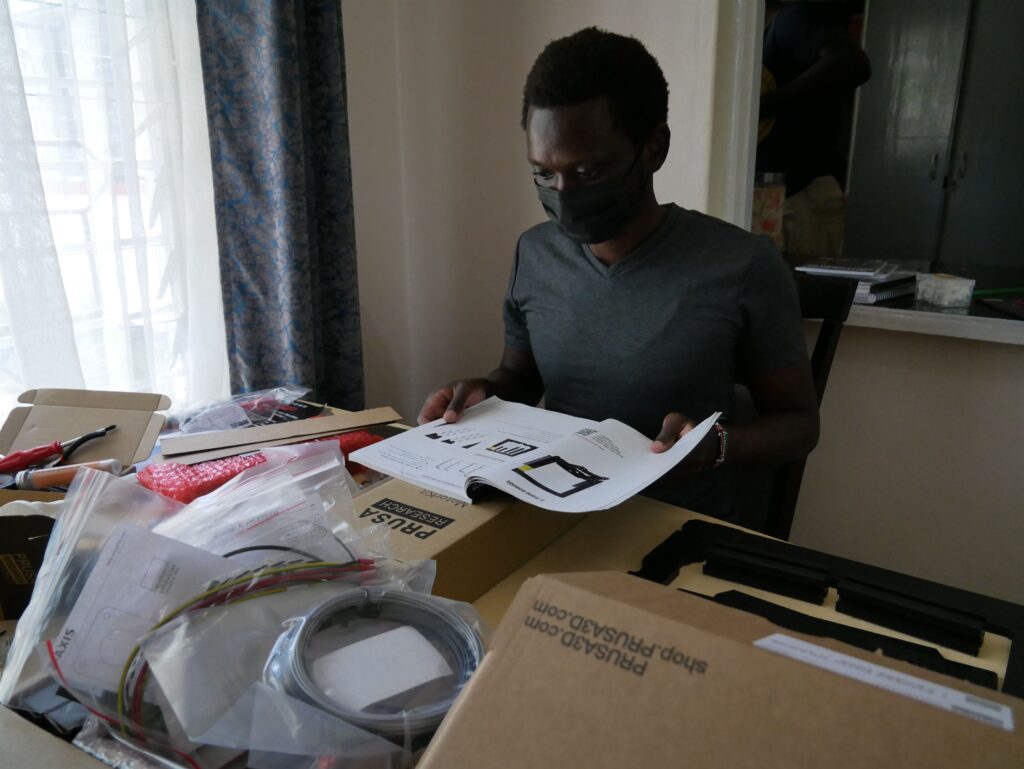
It was late and I was exhausted by the time I was headed home after the first day of assembly. I had only made it as far as page 54 of the assembly instructions, i.e., assembling the X-carriage.
Some of the actions you’ll be doing while assembling this 3D printer kit include:
-
- Locating printer components and fasteners in their packaging
-
- Inserting screws and nuts into oddly situated holes and slots.
-
- Tightening fasteners
-
- Orienting different parts for attachment
-
- Assessing that different parts fit as required, etc.
You will be doing this over and over and it can be quite exhausting when dealing with the smaller parts of the assembly. At some point, I wasn’t even sure what I was working on or where it went. I was simply following the instructions in the manual.
This is also around the time when reading the manual starts to feel like a chore. Unfortunately, there is no getting around this part of the experience when you’re working with few breaks due to time constraints.
This is not an experience that’s unique to assembling the MK4 kit. I recall a similar experience with the GEEETech Aluminium. It’s just part of the package when assembling this type of technical kit.
Attaching Things to the Prusa MK4’s Printed Parts Wasn’t Always Smooth
Attaching certain bits to the printed parts, e.g., the smooth rods and the square M3NS nuts, was often a challenge. This was due to the tight tolerances and the uneven surfaces or printing artifacts inside the holes and slots.
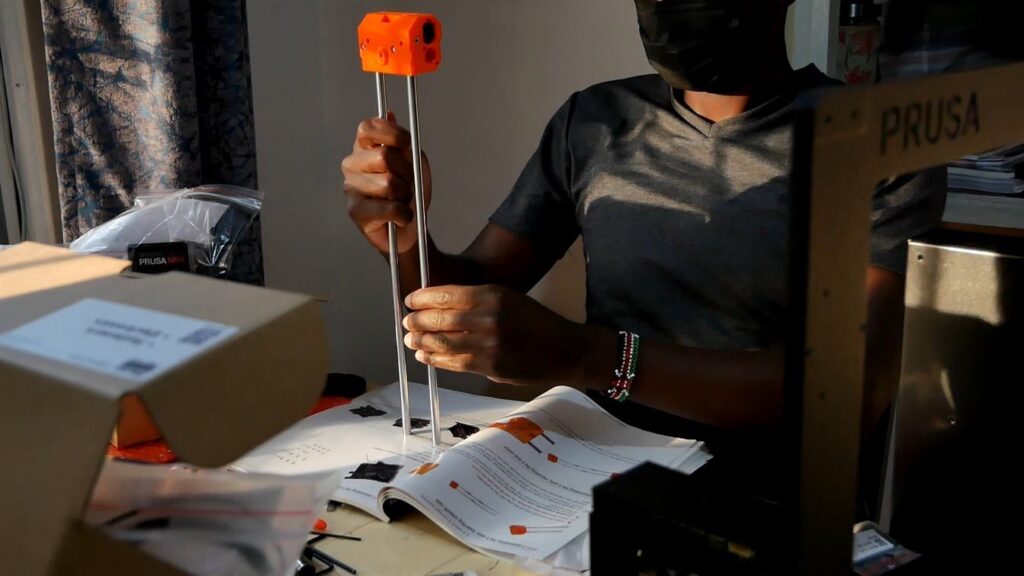
I recall struggling to insert one M3NS nut for over 5 minutes. I had to ‘clean out’ its slot a bit, but I was also a bit tired and impatient and that did not help.
How Much is Too Much?
I struggled with the non-specific nature of some of the instructions. How tight is too tight? How much force is too much force to use to get a smooth rod into the hole? How much grease is too little and how much is too much? The pictures did not help with the latter question.
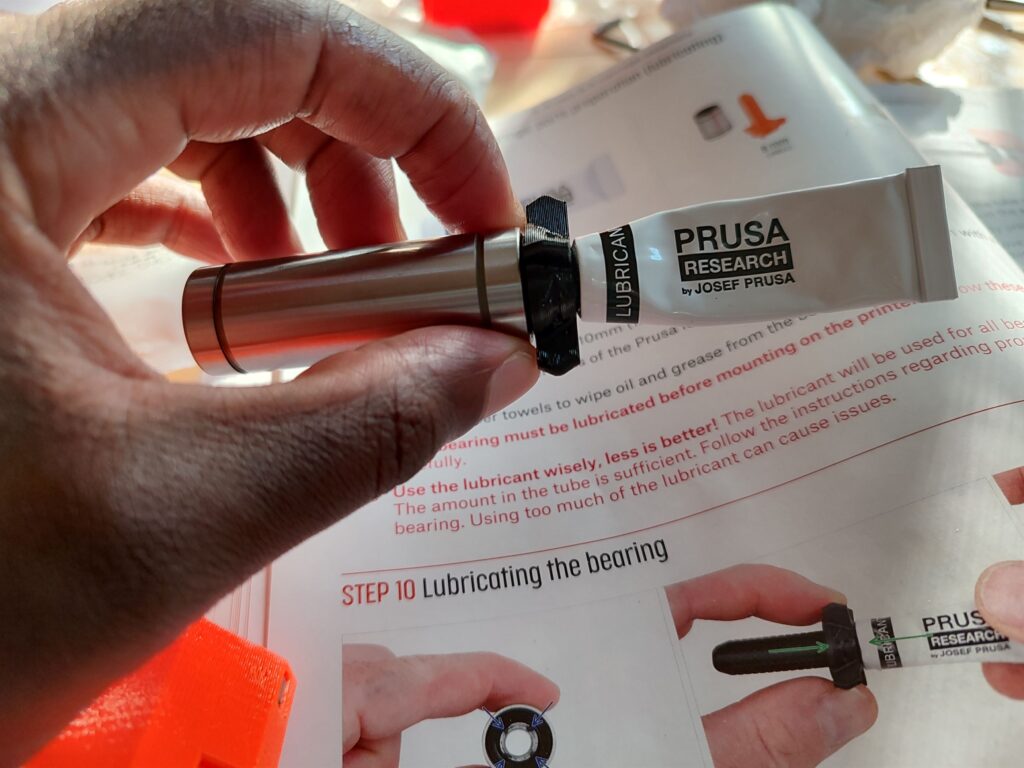
A separate note on the grease, there was no way to actually know how much, if any, was actually squeezed out of the tube and onto the bearings. I didn’t enjoy that level of ambiguity when working on such a critical component.
I Really Needed a Marker in that Box
This may seem nitpicky, but I really needed that marker in that box. The closest thing I had to it was a whiteboard marker and I would not recommend that anyone use that.
It is possible that adding a marker inside the box creates some sort of logistical challenge for Prusa. However, there is no telling where these printer kits will end up, and it shouldn’t be assumed that something as simple as a permanent marker will be readily available.
Sooo Many Labels
This isn’t a complaint about the presence of the labels. I’m just giving you a heads-up that reading through the many labels over and over, trying to find what you’re looking for, is exhausting. You will need to give your eyes a rest from time to time.
It is Not a One Day Job
This is also not a complaint. I’m just pointing out a potentially unpleasant fact that many people who try to assemble this kit for the first time will face.
I’m sure any new printer owner will be eager to have it up and running. Unfortunately, assembling this printer is a two-day job, at the very least. In my case, it was going to take at least three days and, unfortunately, I didn’t have that third day.
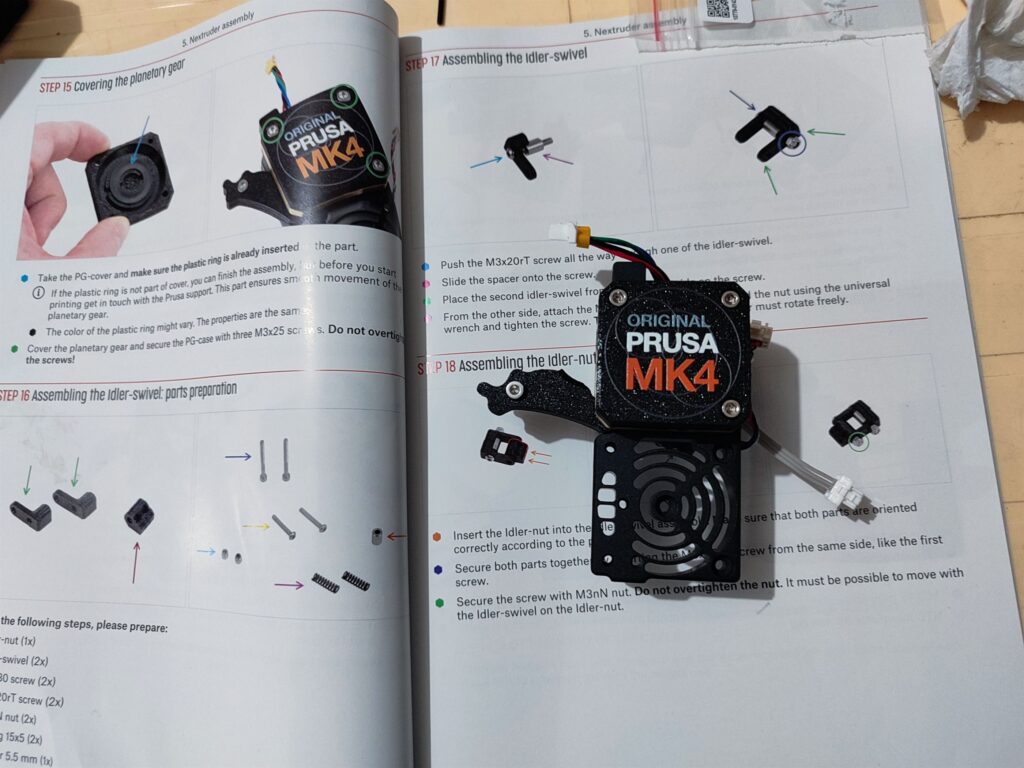
Yes, as excited as I was to assemble the MK4, I didn’t actually get to finish the job because I ran out of weekend. Someone else will have to finish the good job that I started and I was sad about that.
Depending on your level of experience with this kind of project, set aside at least two days, and as much as 1 week if you are a complete beginner
I Lost My Camera!
This has nothing to do with the assembly process but the same camera I used to film the first part of the process was stolen on the first night of the assembly, and that really put a damper on my mood on the second day. Lessons were learned!
The kicker was having to go through the second day of assembly without the sweet sweet incentive of the gummy bears which I had opted to ‘safely’ stash inside my camera bag.
6 Tips to Make it Easier to Assemble the Prusa MK4 Kit
Tip #1: Create as Much Deskspace as Possible
The Prusa MK4’s package may not seem too big, but once you start taking things out of their packaging and assembling various components, all that space on your desk will disappear.
If your desk gets too crowded, finding what you need when you need it will not be fun.
Tip #2: Comfort is Key
The assembly process is long and you’ll be spending a lot of time on that desk. I assembled my first printer on a low table and my back did not enjoy that. If possible, use a desk that is roughly the same height as your computer desk.
Tip #3: Leave Everything In Its Package Until You Need It…
…and put them back when you’re done. This especially applies to the smaller packages holding screws and nuts. It’s very easy to lose one of those bags underneath the mess of other bags and packaging material you’ll have on that table.
It’s also easy to forget which screw size is which when you have several out of their packages and on the table.
Tip #4: Ensure the Z-axis Smooth Rod Fits First
The manual calls for you to fit the smooth rods after attaching the Z-bottoms to the frame. The tight tolerances of the printed holes make this a challenge.
You may end up using too much force trying to get the smooth rods in and damage the Z-bottoms.
You can avoid this by fitting the smooth rod into the Z-bottom first, before attaching the Z-bottom to the frame.
{Disclaimer: This is not a professional recommendation. It’s just something that worked for us. Use it at your own risk.}
Tip #5: Take Your Time
One reason why the assembly process was not as fun for me was the time constraint. I was rushing to get it all done as quickly as possible without making any errors.
There is no prize for finishing the assembly in two days instead of four. Don’t push hard to get it all done in a day as this makes the process stressful and may lead to mistakes.
Tip #6: Keep a Clean Floor
Many of the MK4’s components and fasteners are small. They are just the kinds of things to slip out of your fingers or roll off the desk and onto the floor.
When you inevitably drop one of these small items on the floor, not having a mess down there will make it a lot easier to find them.
Is the Prusa MK4 Assembly Process Beginner Friendly?
Prusa makes a diligent effort to make it as easy as possible to assemble their MK4 3D printer kit.
The different parts and fasteners are well-packaged and labeled, and their step-by-step instructions come complete with color-coded images. This assembly can certainly be accomplished by a complete beginner with no previous technical experience.
However, assembling a 3D printer from scratch is a lengthy and involving process, one that has its fair share of challenges. For me, these challenges were within my comfort zone. I, however, suspect others may find them a little too frustrating if this is their first rodeo.
If you do find the process of assembling the Prusa MK4 a little frustrating, take comfort in the fact that the frustrations during assembly don’t translate to a frustrating experience during use. Additionally, assembling your printer will give you knowledge that will be useful when solving challenges that will come up when you start using the printer.
